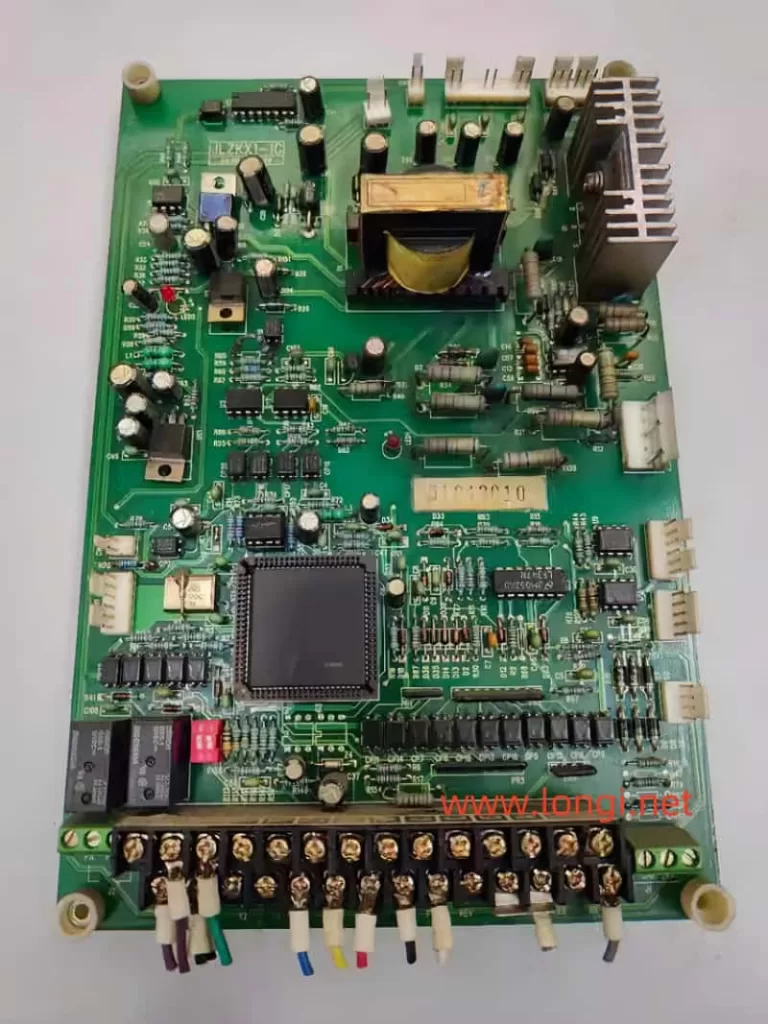
When dealing with complex electronic devices like the Jialing VSD JP6C-9, encountering issues such as a malfunctioning switch power supply can be both frustrating and challenging. This article details a step-by-step diagnostic and repair process for a specific case where the operation panel failed to display any information upon powering on, despite the input and output terminals of the main circuit exhibiting normal resistance levels. The root cause was identified as a power failure on the control board switch, accompanied by tell-tale signs of an abnormal power load.

Initial Observations and Symptom Analysis
Upon initial inspection, the most glaring symptom was the complete lack of display on the operation panel. Given that the resistance checks on the main circuit’s terminals were within acceptable ranges, it became evident that the issue was not with the primary power delivery but rather with the control circuitry. The presence of intermittent clicking sounds, which indicated a struggle in initiating the power supply, further narrowed down the potential culprits. Based on experience, such sounds often suggest issues related to power load abnormalities.
Systematic Diagnosis
The first step in the diagnostic process involved examining the rectification, filtering, and load circuits of each power supply segment. These components are crucial in ensuring smooth and stable power delivery. After thorough checks, no irregularities were found in these circuits, ruling out common failure points.
Next, an attempt was made to isolate and disconnect high-current power supply branches, including the cooling fan power supply, inverter drive power supply, and operation panel display power supply. This isolation technique is often effective in pinpointing which branch might be causing the overload. However, even after disconnecting these branches, the problem persisted, indicating that the issue was more deeply ingrained within the core power supply circuitry.
Deep Dive into the Switch Transformer Circuit
With the basic circuits ruled out, attention turned to the more intricate components of the power supply, specifically the peak voltage absorption network associated with the primary winding of the switch transformer. This network, typically comprising a resistor and capacitor in parallel, connected in series with a diode, serves a critical role in protecting the switching tube from abnormal peak voltages during its cut-off period.
Using a pointer multimeter, the forward and reverse resistance of the diode was measured, revealing an unusual reading of 15 ohms in both directions. This anomaly prompted a closer examination of the diode itself. Upon disassembly and individual testing, the diodes were found to be functional, suggesting that the issue lay elsewhere in the network.
A meticulous visual inspection revealed subtle cracks in the capacitor within the peak voltage absorption network. Further testing confirmed that the capacitor, rated at 2kV 103, had indeed suffered a breakdown and short-circuited. This discovery was crucial, as the capacitor’s failure had significant implications on the operation of the switch transformer.

Understanding the Impact of the Capacitor Failure
In a properly functioning system, the peak voltage absorption network absorbs energy during the switching tube’s conduction period, which is then safely discharged through the diode during the tube’s cut-off period. This mechanism prevents excessive voltage spikes from damaging the switching tube. However, with the capacitor short-circuited, the primary winding of the switch transformer was effectively paralleled with the diode. As a result, the energy accumulated during the conduction period was rapidly discharged, preventing the necessary oscillation energy from being stored.
Moreover, the diode acted as an excessive load on the switch transformer, impeding its ability to initiate the power supply’s startup sequence. This unusual manifestation of a capacitor short-circuit causing startup difficulties is relatively rare and underscores the importance of meticulous component inspection in troubleshooting such issues.
Repair and Restoration
With the faulty capacitor identified, the repair process involved replacing it with a new one of the same specifications. After the replacement, the machine was powered on once again, and this time, the operation panel lit up as expected, indicating a successful repair. The switch power supply was now functioning correctly, free from the previous startup difficulties.
Conclusion
This case study highlights the intricacies involved in diagnosing and repairing switch power supply malfunctions, particularly in sophisticated devices like the Jialing VSD JP6C-9. It underscores the importance of a systematic approach, thorough component inspection, and the use of appropriate diagnostic tools. By understanding the functionality of each component and its role in the overall system, technicians can effectively pinpoint and resolve even the most perplexing issues, ensuring the reliable operation of electronic equipment.
