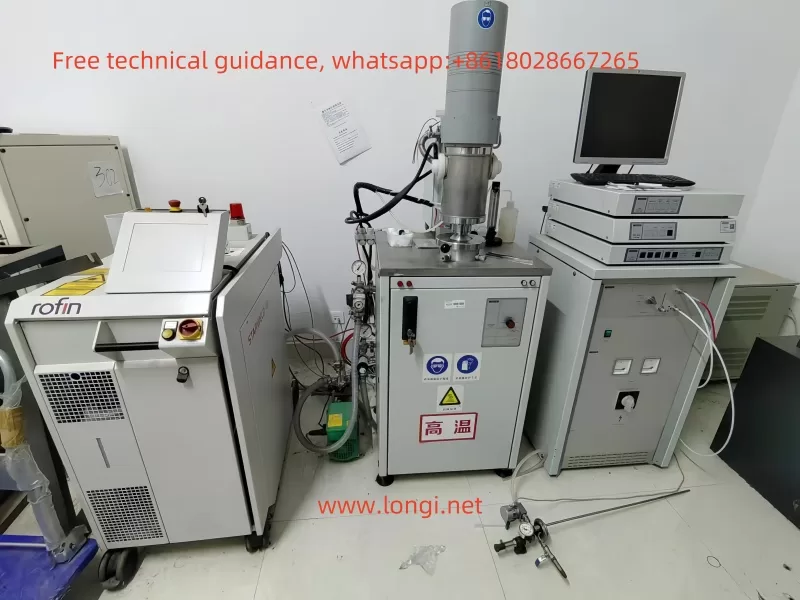
In the fields of materials science and thermal analysis, the NETZSCH LFA 427 Laser Flash Apparatus is a popular high-precision instrument. However, during use, the fault alarm “No Laser Pulse Detected” may sometimes occur, which not only affects the smooth progress of the measurement process but may also seriously impact the accuracy of experimental results. This article will delve into this fault, providing a detailed fault analysis and repair guide.

I. Description of Fault Phenomenon
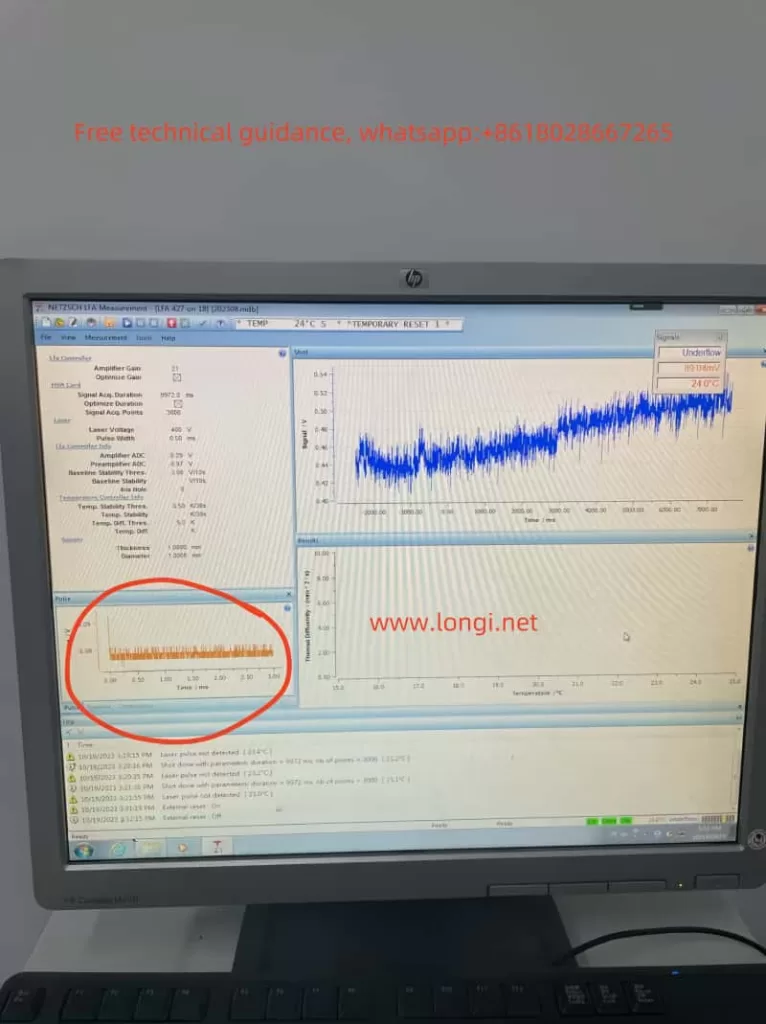
When the NETZSCH LFA 427 Laser Flash Apparatus displays the “No Laser Pulse Detected” alarm, it is usually accompanied by abnormal waveform displays on the instrument interface, such as missing pulses or waveform distortion. Simultaneously, the temperature-time chart may also exhibit instability or abnormal fluctuations. These phenomena indicate that there is an issue with the instrument’s laser pulse detection system, preventing it from functioning normally.
II. Possible Fault Causes
- Unstable Laser Performance
The laser is one of the core components of the Laser Flash Apparatus, and its performance directly affects the stability and accuracy of the laser pulses. If the laser power supply is unstable, internal components are aged or damaged, or the cooling system efficiency is reduced, it may lead to abnormal laser pulse output, triggering a fault alarm. - Inaccurate Optical Path Alignment
The optical path system of the Laser Flash Apparatus is complex, comprising multiple optical components and precise adjustment mechanisms. If the optical components are misaligned or loose, their surfaces are contaminated, or there are obstructions or reflective interferences in the optical path, it may prevent the laser pulses from being accurately transmitted to the detector, causing a fault. - Reduced Detector Sensitivity
The detector is a key component that receives laser pulses and converts them into electrical signals. If the detector itself is faulty, its surface is contaminated, the power supply is insufficient, or there are issues with the signal amplifier, it may reduce its sensitivity, making it unable to accurately capture laser pulses. - Electrical Connection Issues
The electrical connection system of the Laser Flash Apparatus includes multiple cables and connectors. If the cable connections are loose or broken, the signal lines are subjected to electromagnetic interference, or the contact at the connector is poor, it may result in unstable or lost transmission of the laser pulse signals. - Software or Firmware Faults
The measurement software and firmware are crucial for controlling the operation of the Laser Flash Apparatus. If the software parameters are incorrectly set, the firmware version is incompatible or has vulnerabilities, or the data acquisition module is faulty, it may cause the system to fail to correctly identify or record laser pulses. - Environmental Factors
Excessive fluctuations in ambient temperature or the presence of strong electromagnetic interference sources may also affect laser pulse detection. These factors may lead to unstable performance of the laser or detection system, triggering a fault alarm.

III. Specific Inspection Steps
To address the aforementioned possible fault causes, we can follow these steps for troubleshooting:
- Check Laser Status
Use a multimeter to measure the voltage and current of the laser power supply, ensuring they meet the specifications.
Inspect the power cord and connectors for integrity, ensuring they are not loose or damaged.
Use a power meter to measure the laser’s output power and confirm it is within the normal range.
Check the operation status of the cooling system to ensure proper heat dissipation. - Verify Laser Pulses
Manually trigger laser pulses under safe conditions and observe if the detector can receive the pulse signals.
Use a laser observation tool to confirm if the laser is actually firing. - Check Optical Path Alignment
Clean all optical components using a lint-free cloth and cleaner.
Adjust the positions of the optical components according to the optical path alignment guide.
Inspect the optical path for physical damage or deformation, and replace damaged components if necessary. - Verify Detector Function
Ensure all cable connections between the detector and the main control system are secure.
Test the detector’s response using laser pulses of known intensity.
Clean the detector surface to ensure no contaminants affect its detection performance. - Electrical Connections and Signal Integrity
Inspect the integrity of all relevant cables, ensuring they are not damaged or worn.
Use a multimeter to test the continuity of key connectors.
Confirm that the signal cables are well-shielded to avoid electromagnetic interference. - Software and Firmware Check
Verify the laser and detector-related parameters in the measurement software.
Check for updated versions of the software or firmware and install the latest versions.
Review software logs or error reports for possible fault indications. - Environmental Factor Assessment
Confirm if the instrument’s operating environment temperature is within the specified range.
Assess if there are strong electromagnetic sources in the surrounding environment and try to move the instrument away or shield it.
IV. Repair Suggestions
- Self-inspection and Maintenance
If you have relevant technical knowledge and experience, you can follow the above inspection steps for troubleshooting and perform basic maintenance and adjustments, such as cleaning optical components, realigning the optical path, and replacing damaged cables. - Contact Professional Technical Support
If self-troubleshooting does not resolve the issue, it is recommended to contact NETZSCH’s authorized service center or technical support team. They have professional repair tools and knowledge to more accurately diagnose and fix the fault. - Spare Parts Preparation
To reduce repair time, it is advisable to prepare commonly used spare parts in advance, such as laser modules, detector components, and optical lenses. This allows for quick replacement when needed. - Regular Maintenance Plan
Develop and implement a regular maintenance and calibration plan to ensure the instrument is in optimal working condition. This includes regularly cleaning optical components, checking cable connections, and calibrating the detector. This can prevent potential faults and extend the instrument’s lifespan.
V. Preventive Measures
To reduce the occurrence of the “No Laser Pulse Detected” fault, the following preventive measures can be taken:
- Environmental Control
Ensure the instrument operates in a stable, vibration-free environment with suitable temperature and humidity. Avoid external factors affecting instrument performance, such as temperature fluctuations and electromagnetic interference. - Operator Training
Ensure all operators receive adequate training to understand the correct operating procedures and basic maintenance methods. Reduce human operational errors and improve the instrument’s efficiency and accuracy. - Record Keeping and Monitoring
Maintain detailed maintenance and fault records, and regularly monitor key parameters. Promptly identify abnormal trends and take measures, such as adjusting instrument parameters and replacing aged components.
In summary, the “No Laser Pulse Detected” fault in the NETZSCH LFA 427 Laser Flash Apparatus can be caused by various reasons. By systematically inspecting the laser’s operating status, optical path alignment, detector function, and electrical connections, the fault range can be gradually narrowed down, and the specific cause identified. During the repair process, corresponding measures can be taken based on the specific situation to fix the issue and ensure the instrument resumes normal operation. Simultaneously, by implementing preventive measures and a regular maintenance plan, the occurrence of faults can be reduced, and the instrument’s lifespan can be extended.
