
UVP BioDoc-It2 Gel Imaging System
I. Product Overview
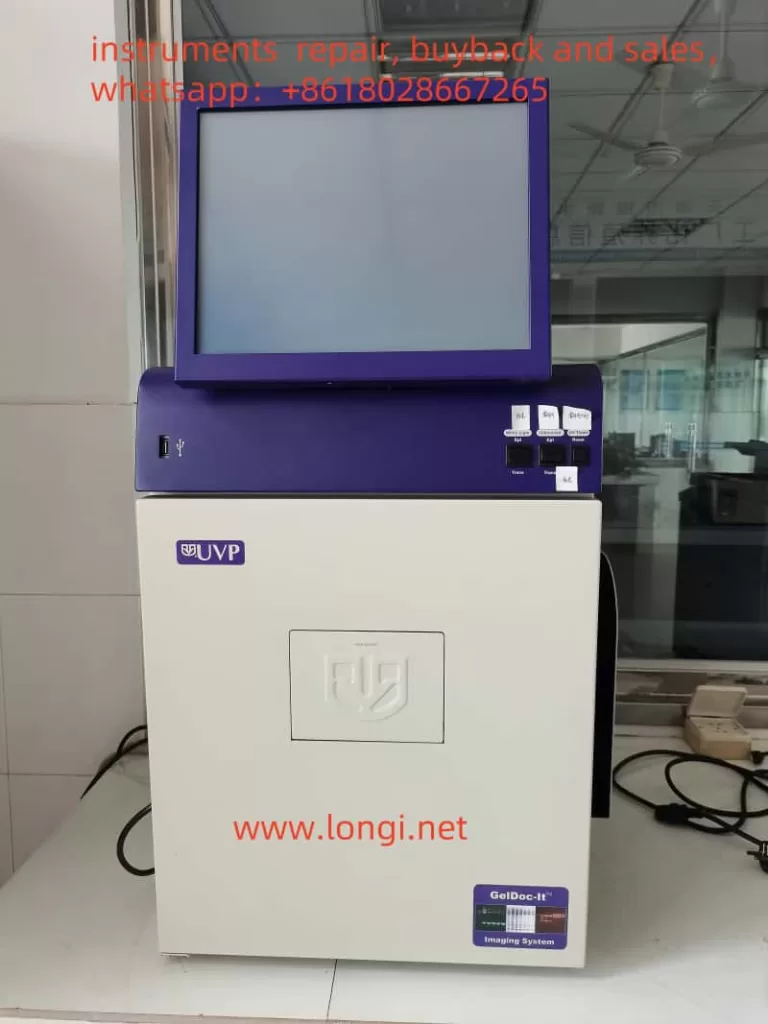
The UVP BioDoc-It2 Gel Imaging System is a high-performance biological imaging device produced by Analytik Jena, widely used in fields such as molecular biology, genetics, and biochemistry. This system is primarily utilized for the detection and analysis of nucleic acids and protein gels, featuring easy operation, clear imaging, and versatile functions.
II. Main Technical Parameters
- Camera: High-resolution digital camera equipped with a high-sensitivity sensor to ensure detection of low-signal samples.
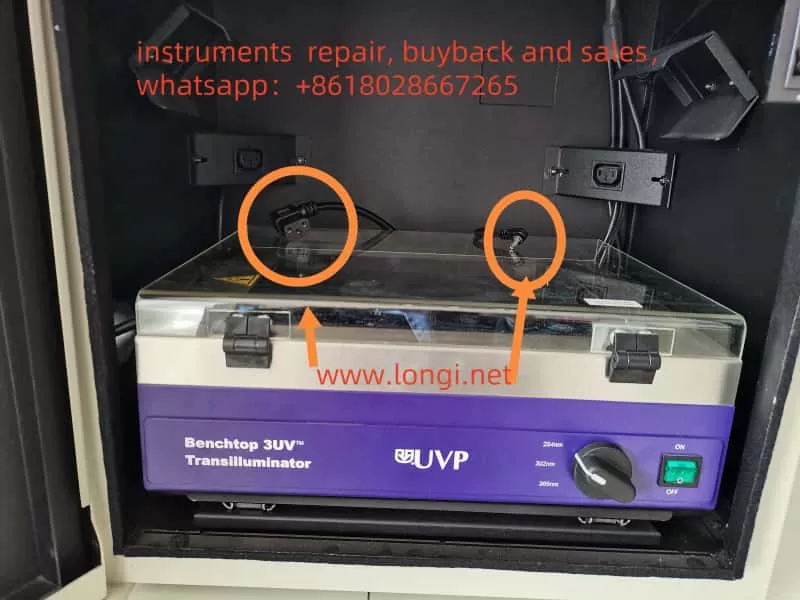
- UV Transilluminator: Provides multiple wavelengths (254nm, 302nm, 365nm) of UV light sources, suitable for different types of dyes and samples.
- Filters: High-quality filters ensure the transmission of specific wavelengths of light, enhancing image contrast and clarity.
- Software: The accompanying VisionWorks LS analysis software supports image capture, processing, and analysis functions, meeting various experimental needs.
III. Usage Methods
- Equipment Connection and Startup
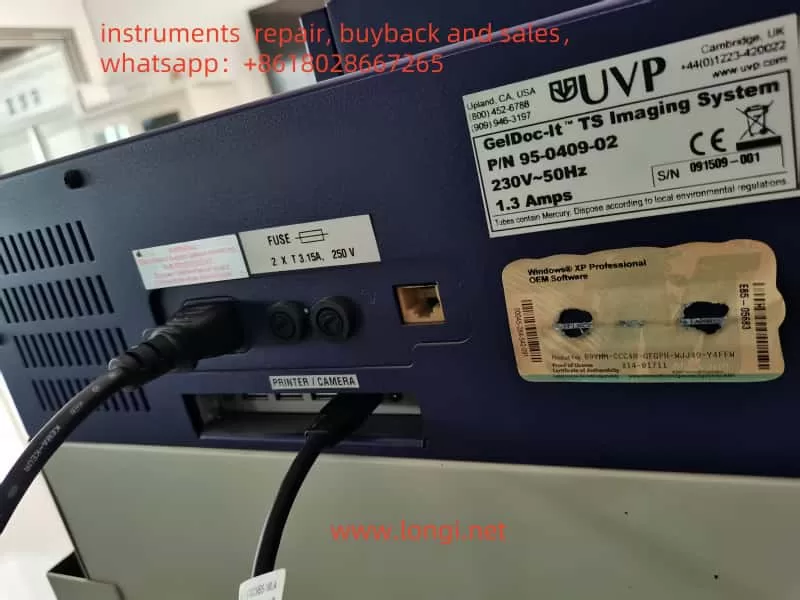
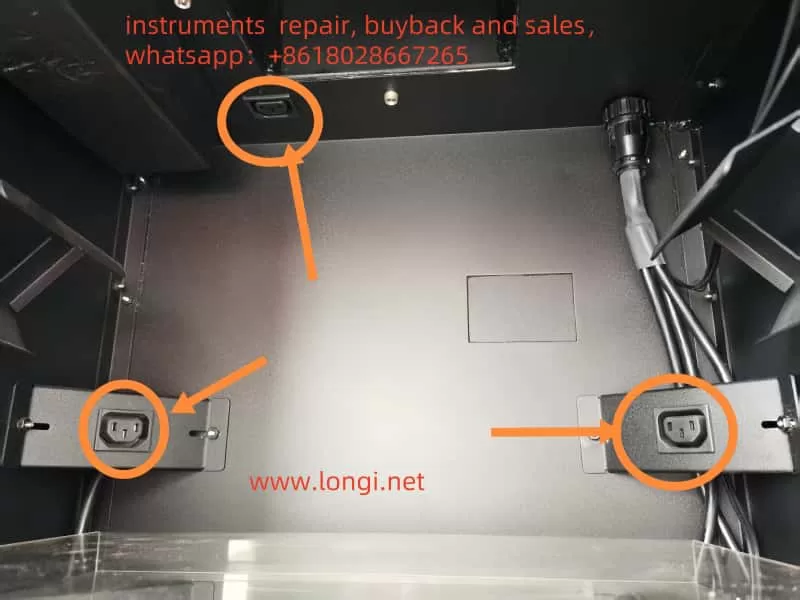
- Power Connection: Ensure the equipment is connected to a stable power source and check the integrity of the power cord and plug.
- Equipment Startup: Press the power switch and wait for the system to start up completely.
- Sample Preparation and Placement
- Gel Preparation: Prepare agarose or polyacrylamide gels of appropriate concentration and size according to experimental requirements.
- Sample Loading: Add samples to the gel lanes and run electrophoresis.
- Staining: Stain the gel with an appropriate dye (such as ethidium bromide, SYBR Green, etc.).
- Placement: Place the stained gel on the glass platform of the UV transilluminator, ensuring it is centered and not tilted.
- Image Capture
- Select Light Source: Choose the appropriate wavelength of UV light source based on the characteristics of the dye used.
- Adjust Parameters: In the VisionWorks LS software, adjust parameters such as exposure time and gain to ensure a clear image.
- Preview and Capture: Use the software’s preview function to view the real-time image, adjust the focus and aperture until satisfied, and then capture the image.
- Image Processing and Analysis
- Image Enhancement: Use the software’s image enhancement functions, such as adjusting brightness and contrast, to improve image quality.
- Quantitative Analysis: Utilize the software’s analysis tools to perform quantitative analysis on bands, such as calculating band intensity and molecular weight.
- Data Export: Export analysis results and images in various formats for report writing and data sharing.
IV. Maintenance and Upkeep
- Routine Maintenance
- Cleaning: Regularly clean the glass platform of the UV transilluminator with a soft, lint-free cloth to avoid sample residue affecting experimental results.
- Inspection: Periodically check the integrity of the power cord, connecting cables, and various components to ensure the equipment is functioning normally.
- Lamp Replacement
- Determine Replacement Timing: Consider replacing the lamp when the brightness of the UV light source significantly decreases or flickers.
- Replacement Steps:
- Turn off the power: Ensure the equipment is powered off and unplug the power cord.
- Disassemble the housing: According to the device manual, disassemble the housing of the UV transilluminator to expose the lamp.
- Remove the old lamp: Carefully rotate and remove the old lamp, avoiding excessive force that could damage the lamp socket.
- Install the new lamp: Insert the new lamp into the socket and ensure it is securely installed.
- Reassemble the housing: Install the housing back and ensure it is securely fixed.
- Test: Connect the power, start the equipment, and check if the new lamp is working normally.
- Software Maintenance
- Updates: Regularly check and update the VisionWorks LS software to obtain the latest features and fixes.
- Backup: Regularly back up experimental data and image files to prevent data loss.
V. Safety Precautions
- UV Protection: Wear protective goggles and gloves during operation to avoid direct exposure of skin and eyes to UV light.
- Equipment Grounding: Ensure the equipment is properly grounded to prevent static electricity and leakage risks.
- Ventilation: Use the equipment in a well-ventilated environment to avoid the accumulation of harmful gases.
- Operation Training: Personnel who have not been trained shall not operate the equipment. Ensure that operators are familiar with the use and maintenance of the equipment.
VI. Common Problems and Solutions
- Blurry Images
- Possible Causes:
- Incorrect focus adjustment: The camera is not aligned with the sample’s focus, resulting in a blurry image.
- Uneven sample placement: The gel sample is not placed flat on the UV transilluminator, causing unclear imaging.
- Stains on the filter surface of the UV transilluminator: Dust, fingerprints, or other contaminants on the filter surface affect light transmission.
- Stains on the camera lens or filter: Stains on the lens or filter reduce image quality.
- Environmental light interference: External light enters the imaging system, affecting image quality.
- Solutions:
- Adjust the focus: Use the preview function of the VisionWorks LS software to manually adjust the camera focus until the image is clear.
- Ensure even sample placement: Place the gel sample flat on the glass platform of the UV transilluminator, avoiding tilting or bending.
- Clean the filter and lens: Gently wipe the filter and camera lens of the UV transilluminator with a lint-free soft cloth to ensure their surfaces are clean and free of stains.
- Reduce environmental light interference: Operate in a darkroom or shaded environment to ensure the imaging system is not interfered with by external light.
- Possible Causes:
- Insufficient Image Brightness
- Possible Causes:
- Short exposure time: The camera’s exposure time is set too short, resulting in insufficient image brightness.
- Aging of the UV lamp: The lamp of the UV transilluminator has been used for too long, and its brightness has decreased.
- Low dye concentration: Insufficient dye concentration during gel staining results in weak fluorescent signals.
- Solutions:
- Extend the exposure time: Appropriately extend the camera’s exposure time in the VisionWorks LS software to increase image brightness.
- Replace the lamp: If the UV lamp is aged, it is recommended to replace it with a new one to ensure sufficient UV light intensity.
- Increase dye concentration: Appropriately increase the dye concentration or extend the staining time to enhance the fluorescent signal intensity.
- Possible Causes:
- Software Malfunction
- Possible Causes:
- Outdated software version: The used version of the VisionWorks LS software is outdated, with compatibility or functional defects.
- Incorrect software settings: Improper software parameter settings lead to abnormal functions.
- Solutions:
- Update the software: Visit the Analytik Jena official website to download and install the latest version of the VisionWorks LS software.
- Restore default settings: Restore default settings in the software or refer to the user manual to reconfigure software parameters.
- Possible Causes:
- Equipment Fails to Start
- Possible Causes:
- Power connection issue: The power cord is not properly connected, or the power outlet has no electricity.
- Blown fuse: The internal fuse of the equipment is blown, causing a circuit interruption.
- Solutions:
- Check the power connection: Ensure the power cord is securely connected, the power outlet has electricity, and the voltage meets the equipment requirements.
- Replace the fuse: Refer to the user manual to check and replace the blown fuse, ensuring the use of a fuse of the same specification.
- Possible Causes:
- UV Lamp Does Not Light Up
- Possible Causes:
- Damaged or aged lamp: The UV lamp is damaged or has reached its service life.
- Power issue: The power connection of the UV transilluminator is poor, or the switch is faulty.
- Solutions:
- Replace the lamp: Follow the equipment maintenance procedure to replace the UV lamp with a new one.
- Check the power: Ensure the power connection of the UV transilluminator is normal, and the switch functions properly.
- Possible Causes:
VII. Conclusion
The UVP BioDoc-It2 Gel Imaging System, as a high-performance biological imaging device, plays a crucial role in nucleic acid and protein research. Its high-resolution imaging, easy operation, and versatile analysis capabilities make it an indispensable tool in laboratories. Through proper use and maintenance, researchers can fully leverage the advantages of this system, improving experimental efficiency and data quality.